Floating Shelves vs Bracket Shelves: Which Suits Your Wall and Load?
A shelf either looks like it grew out of the wall, or it makes a feature of the brackets holding it up. Both can carry a row of cookbooks, a stack of records or a few plant pots, but they get there in different ways. The decision usually comes down to three things: what your wall is made of, how much weight you need to carry, and how much of the hardware you want to see.
How Each Type Carries Its Load
A floating shelf is a hollow box or a solid timber sleeve that slides over a concealed metal bar or pair of rods fixed to the wall. The weight travels through the bar into the wall. Two things decide how well it works: how deep the bar sits inside the shelf, and how firmly the bar is fixed. A shallow shelf with short rods has very little leverage, which is why cheap floating shelves often feel springy.
A bracket shelf puts the load straight onto brackets screwed into the wall. Each bracket takes weight at a known point, so the shelf is only as strong as the bracket, the screws and the wall behind them. As a rule of thumb, brackets at roughly 50cm centres keep a shelf from sagging; bring that closer, nearer 40cm, if you're loading it with books, jars or tools.
Neither type is automatically stronger. A sturdy bracket shelf on a brick wall will out-carry a slim floating shelf on plasterboard every time, and a well-fixed floating shelf will hold more than a flimsy bracket shelf with thin pressed-steel brackets.
Know Your Wall Before You Choose
This matters more than the shelf. In most British homes you'll meet one of four walls:
- Solid masonry — brick, block or stone. Strong and predictable. Use a masonry bit and the correct wall plugs, and try to avoid drilling into mortar joints, which crumble.
- Timber stud partition — plasterboard fixed to a timber frame. Find the studs and screw into them wherever you can. A stud finder, a magnet run across the wall to catch screw heads, or a careful tap test will locate them.
- Plasterboard on dot-and-dab — boards held by dabs of adhesive with gaps behind. There's no reliable structure to screw into, so you need proper hollow-wall fixings rated for the load, or a timber batten fixed through to something solid.
- Lath and plaster — common in older houses, and fragile. The plaster keys break easily, so fix into the timber studs behind or add a batten to spread the load.
If you're hanging a long run of shelves, or anything that will hold real weight, it's worth asking a carpenter or builder to look at the wall first. A shelf that pulls out of plasterboard takes a sizeable patch of the wall with it.
Installation: Where the Effort Goes
Floating shelves demand precision. The bar sets the height, so there's no wriggle room: drill in the wrong place and you'll see it, because there's nothing to hide behind. The shelf also needs to slide cleanly over the bar, which means keeping the holes square and level with each other.
Bracket shelves are more forgiving. Brackets cover their own fixings, you can pack out a bracket that sits proud of an uneven wall, and you can usually shift one a few millimetres without anyone noticing. The trade-off is that two or three brackets need to line up exactly, or the shelf will rock.
Whichever you choose, the sequence is similar:
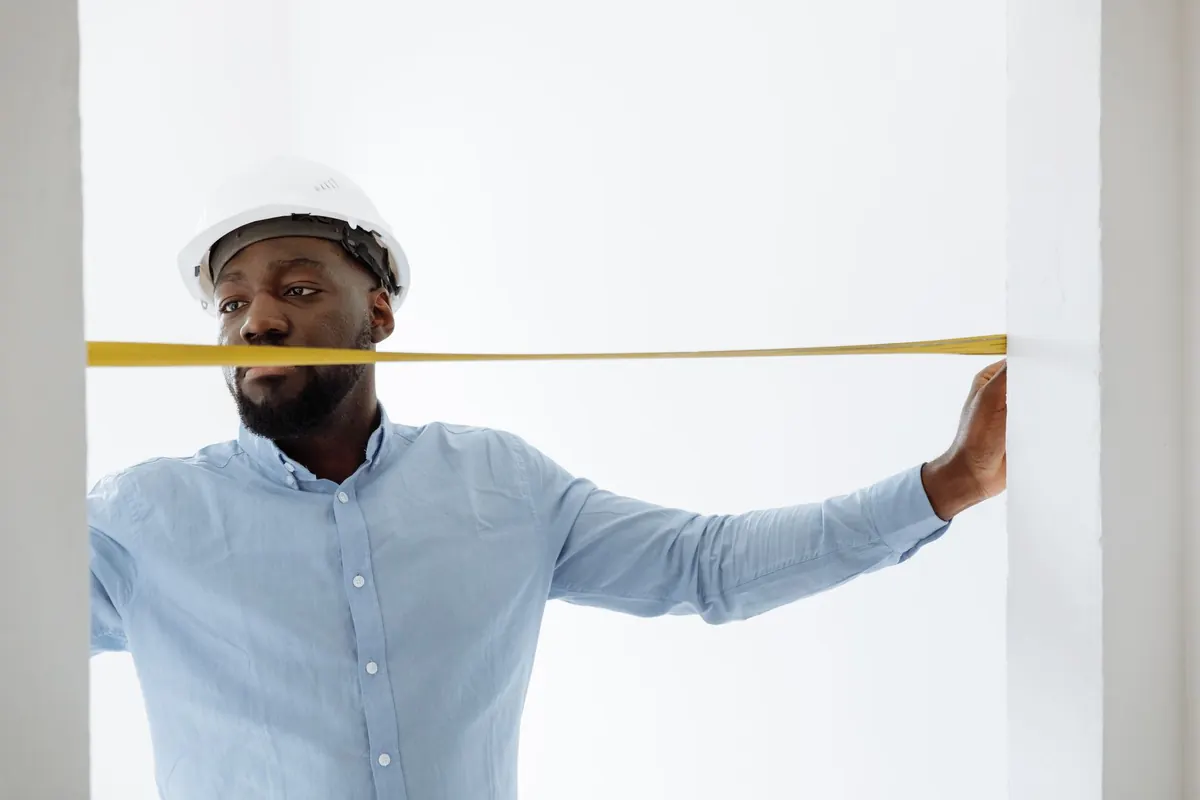
- Mark the finished height and draw a level line across the wall with a spirit level.
- Locate studs or settle on your fixings, then mark each fixing point on the line.
- Drill pilot holes, checking the depth against the plug or screw so nothing bottoms out.
- Fix the support — bar or brackets — and check it's level before the shelf goes on.
- Fit the shelf, then load it with the real thing. A row of paperbacks tells you far more than an empty shelf.
Cost, and What You're Paying For
Bracket shelving is usually the cheaper route. You buy a board and a set of brackets separately, so the cost is easy to control: a painted pine board with simple steel brackets is a modest outlay, while oak or walnut boards push it up quickly. Floating shelves tend to be sold as complete units, and you're paying for the hidden mechanism as well as the shelf, so the same length generally costs more.
The place not to economise is the fixings. Good wall plugs, anchors and screws cost very little next to the shelf itself and make the difference between a shelf that holds and one that drops. Skip the unbranded mixed box and buy fixings rated for the weight you're hanging.
Style: Invisible Fixings or Visible Hardware
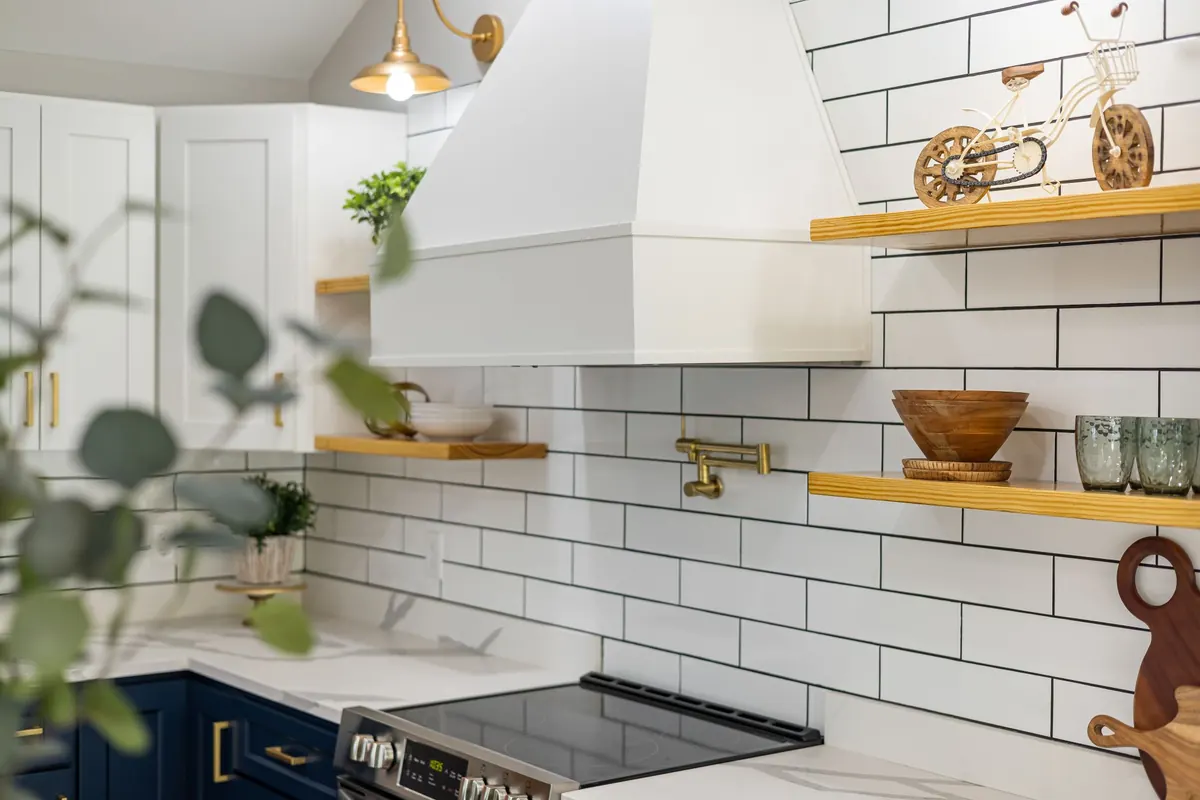
Floating shelves keep a wall calm. In a narrow hallway, a tight alcove or beside a bed, removing the brackets buys you a few extra centimetres and a cleaner line. They also suit tiled kitchen walls and panelled bathrooms, where brackets would interrupt the pattern. A deep floating shelf can look heavy, though, and if the wall isn't flat you'll see a gap along the back edge.
Brackets earn their place when you want them seen. Black steel angle brackets suit utility rooms, workshops and industrial-style kitchens; cast iron or painted timber brackets sit comfortably in period homes. Visible brackets also add visual weight, which helps in a tall room or above a desk where a floating shelf might look as if it's about to drift off.
Which Rooms Suit Which
- Kitchen: floating shelves for a short run of mugs and spices on a tiled wall; brackets for cookbooks and anything cast iron.
- Living room: floating for display and records; brackets for deep shelves packed with books, spaced closer together.
- Bedroom: floating as a bedside shelf, where a bracket would be in the way of your shoulder.
- Bathroom: floating looks streamlined, but choose moisture-resistant boards and keep the room ventilated.
- Hallway: floating saves depth in narrow spaces; brackets can be knocked by bags and coats.
- Utility, garage or shed: brackets, every time. Cheap, strong and easy to move when the layout changes.
Before You Buy: A Short Checklist
- Weigh the load honestly. A metre of paperbacks is heavier than most people expect.
- Identify the wall and decide your fixings before you choose the shelf.
- Measure the span — long shelves need more support points.
- Check the shelf's depth and thickness against what you're storing.
- Buy fixings rated for the job, plus a couple of spares.
If the wall is uncertain, the shelf is long, or it's going above something you'd rather not replace, bring in a qualified fitter. Shelves almost always fail at the wall rather than the shelf, and it's the wall that's expensive to put right.
Photo: StockSnap / Pixabay
You Might Also Like
A practical guide to no-drill shelving for UK renters: tension poles, adhesive strips, freestanding units and removable fixes, with fitting tips and deposit-friendly habits.
Practical rules for styling open shelves in kitchens, living rooms and bedrooms, covering books, plants, ceramics and the negative space that keeps a display calm.